
Debt Hunt Items & Tools
Every confirmed item you can carry, hold, break, throw, or sell — and the items NZTeam has not published yet.
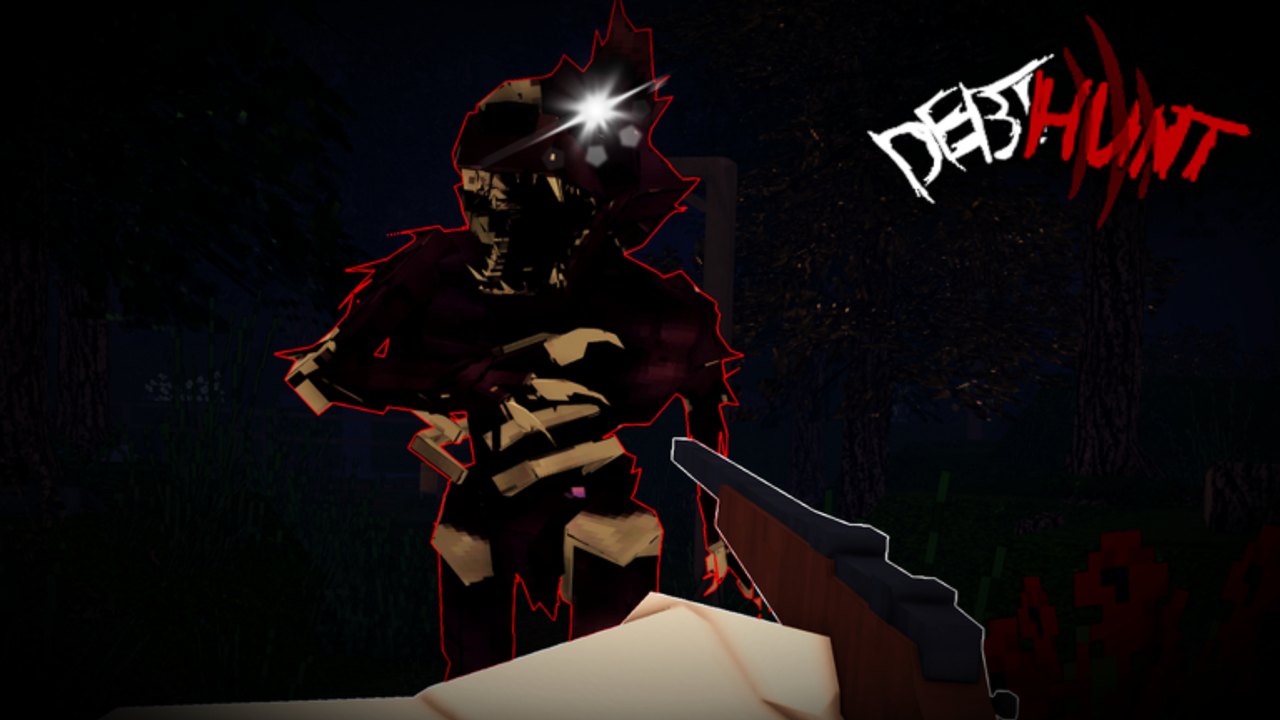
Debt Hunt ships a fixed tool kit and a procedural pool of valuables. This page is the catalog: what the items are, what they do, what they cost or earn, and which ones the studio has not confirmed in the live Alpha build. The economy rules live on pay off the debt and the loot tier list. Loadouts and DarkMarket buys are on loadouts.
How items are organised
The wiki splits the catalog into four buckets that match how a contractor actually uses them:
- Tools — held equipment that interacts with the world (crowbar, camera, breaker, light).
- Consumables — single-use or limited-charge items (medical, ammo boxes, horns, traps).
- Valuables — picked up, sold, or banked toward the quota (ores, Gems, treasures, supply box contents).
- Photo subjects — anything the camera can highlight and credit toward Master Photographer (1,000 photos).
A sixth bucket — unconfirmed items — sits at the bottom of this page. NZTeam has not published every interior item. We will not invent names that the experience page does not mention.
Tools
Crowbar
The crowbar is the default breaker. You find it lying around cabin interiors and broken-wall scaffolding, and the new lobby occasionally spawns you with one. It is the answer to Wrecking Crew (100 wooden planks broken). Compared to a rifle, the crowbar:
- Uses stamina, not ammo. No ammo box needed.
- Is quieter than a gunshot. You will not pull the wolf from two fences away.
- Breaks both plank walls and barricaded doors, but slower than the gun.
Treat the crowbar as a default planner. Spend ammo on the wolf, spend the crowbar on the path.
Plank Wood (material)
Plank Wood is the dropped material from breaking planks. In the live build Plank Wood is a craft component rather than a sell-everything resource; some players have noted a future-craft hook, others treat it as clutter. Until NZTeam publishes a recipe list, treat Plank Wood as something to pick up only if you already have a free bag slot.
Do not mine decorative walls for Plank Wood. The hour you lose is bigger than the value of the drops. The run checklist keeps you on the route.
Camera
The camera is a core tool, not a toy. Master Photographer is 1,000 photos — the studio put a four-digit grind behind it. The camera:
- Highlights photo subjects automatically when you aim at them.
- Counts every snapshot toward Master Photographer.
- Does not trigger the day-light Cash penalties. You can photograph a deer for the badge without paying 300 Cash.
- Carries no ammo. Photos are unlimited, but disk space (your bag) is not.
Detailed photography rules are on the camera guide. Treat the camera as a hotbar slot, not inventory clutter.
Light source
A light source (flashlight, lantern, lamp) lets you see inside cabins and ore caves after sunset. The wolf is still dangerous in the dark, but you cannot read the cabin floor for boxes without one. Cheaper lights have shorter battery lives. Buy a light in DarkMarket if you run Hard or Insane; on Easy, the sunset window is short enough that a torch you find on a wall is fine.
Medical tool (bandage / stim)
Medical items heal HP in a single use. Bandages are common drops from medical cabinets and certain supply boxes; stims are DarkMarket buys. The medic role page on roles covers who carries them and when to use them. Solo players can stretch medical by avoiding wolf aggro on Hard.
Shotgun
The shotgun is the primary weapon against the wolf. It deals one damage per shell, costs one ammo box per shot, and has friendly-fire damage if you sweep a teammate. Use it for the wolf, not for planks. The combat guide has the bind notes: combat guide.
Consumables
Ammo box
A shotgun shell comes from an ammo box. One box = one shot. You find ammo boxes in supply crates, sometimes in cabin interiors. Spend each shell as if it were the last one. Two shells for the wolf is the survival line; the third shell is the kill if you have it.
Trap
A trap is a single-use ground item that stops the wolf for one to three seconds and removes one of its health points when triggered. Place the trap along a fence line you have already scouted in daylight. A trap placed blindly in an open meadow is a wasted slot; the wolf steps around it.
Traps belong on routes you already know. Reuse is not possible unless you retrieve the trap after a catch, and on Insane difficulty you usually cannot.
Horn
The horn repels the wolf. Found horns have a random number of charges up to three; shop horns always arrive with three. Use the horn to create distance, not to win the fight. Popping a horn at point-blank is the rookie habit. Popping a horn at the fence line, then rotating around the cabin, is the senior habit.
Medical consumables
Bandages and stims (covered above) are the only healing consumables. Do not bank on a third item — no food, no drink, no pills. The contract is short enough that HP loss is recoverable; the only recovery tool is the medical bag.
Valuables
Mineral ores
Mineral ores are mineable rocks scattered across the procedural forest. Master Miner is 500 ores, so mining is a real career path. Mine on the route, not deep in a hillside cave, because caves eat daylight hours. Treat each ore cluster as 5–10 seconds of work; if a node is more than 15 seconds from the path, leave it for the next run.
Gems
Gems are the rare high-value pickup. Gem Alarm is a literal badge name: Gems attract the wolf faster than boxes do. Pocket a Gem and rotate to extract. A squad that reroutes the whole seed for every gleam ends up at Last Man Standing for the wrong reason. Treat the Gem as the late-day pickup, not the first-day flex.
Treasures (buried)
Treasures are buried loot marked by small mounds. Archaeologist is 100 digs, so digging is a recognised career path. Dig on the route during daylight. Do not detour for an isolated mound at sunset. A treasure alarm exists, which means a single mound can pull the wolf if you camp it.
Supply box contents
Supply boxes contain a mix of small Cash, ammo, bandages, and occasionally photo highlights. Provision Master is 150 opens, so boxes are the spine of day income. The exact contents per box rotate. Open every box you pass; do not argue with the contents until you have the daily floor cleared.
Ores and Gems on Hard / Insane
Difficulty changes how much of these you can safely farm. On Insane, treat ores as A-tier (still good, still risky) and Gems as B-tier spikes you only pick up if the wolf is nowhere nearby.
Photo subjects
Anything that the camera highlights counts toward Master Photographer:
- Wildlife — deer (alive or dead), rabbits. See wildlife.
- Evidence / crime scenes — investigative stills the studio has placed for the camera economy.
- Creatures / traces — claw marks, tracks, cabin interiors, bloodstains.
- Plank walls and broken interiors — documentation-style stills.
A live deer is worth more on a camera than on a knife. The 1,000-photo grind is the studio’s reward for treating the world as something to record, not something to loot.
What you sell, what you keep
This is the part most guides skip. Decide whether to bank the item or use it before you pick it up:
- Ores — sell at the next extract point. Never carry past sunset.
- Gems — sell at extract. They are heavy in the bag and loud in the wolf’s nose.
- Treasures — sell at extract. Same logic as Gems.
- Photo subjects — never sell. Photograph and walk.
- Bandages — keep one for self, drop extras on a teammate who is at low HP.
- Ammo — keep until you have a confirmed wolf target. Don’t burn it on a wall.
- Plank Wood — keep only if you have a free bag slot and a hunch about a recipe.
A clean run ends with an extract that converts valuables into Cash. The debt tracker is the spreadsheet version of this rule.
Items NZTeam has not published
The wiki will not:
- Name specific legendary weapons or named guns.
- List unreleased craft recipes for Plank Wood.
- Quote a drop table the studio has not patched in.
- Describe stackable consumables beyond the bandolier pouch that is visible in official stills.
If Update 2 or a later patch ships a new item, this page is the second place it lands, after updates.
Items in solo vs squad runs
- Solo — bias toward camera and ores. Skip DarkMarket unless a tool changes the day math. Independent default.
- Squad — split tools across roles. One medic, one breaker, one shooter, everyone carries a camera. Duplicate buys trades the same quota for half the value. Role calls: co-op and roles.
Related pages
- Loot Tier List — income tiers
- Loadouts — DarkMarket slot picks
- Pay off the Debt — economy loop
- Camera — Master Photographer
- Wildlife — deer and rabbit photo subjects
- Combat — shotgun, ammo, traps
- DarkMarket — Independent vs shop runs
Frequently Asked Questions
Quick answers to the most common Debt Hunt questions.
What is the crowbar used for in Debt Hunt?
The crowbar is the default breaker. It breaks plank walls and barricaded doors without spending ammo, contributing to the Wrecking Crew badge (100 wooden planks broken). It is quieter than a gun, which keeps you from pulling the wolf at range.
Can you sell Plank Wood?
Plank Wood is a craft material drop from breaking planks. NZTeam has not published a full recipe list, so treat it as a bag-slot item rather than a guaranteed sell-everything resource. Pick it up only if you have spare inventory.
Does the camera use ammo?
No. Photos are unlimited. The camera's only limit is your time and bag space. Every photo of a highlighted subject counts toward Master Photographer (1,000 photos).
Do Gems attract the wolf?
Yes. Gem Alarm is the studio's badge name for that mechanic. Pick up Gems and rotate to extract rather than camping a Gem pocket near a known herd route.
Are there legendary weapons in Debt Hunt?
Not in the live Alpha build. NZTeam has not published named or legendary weapons. The wiki treats the shotgun as the only confirmed firearm. If a patch ships a new item, this page updates.
Should I sell or photograph a deer?
Photograph. Killing a deer during daylight costs 300 Cash. Photographing a live or dead deer counts toward Master Photographer with no Cash penalty. See wildlife.