
Debt Hunt Sellables & Cash Sources
Every confirmed way to add to the quota — and the items the studio has not published yet, so the wiki does not invent them.
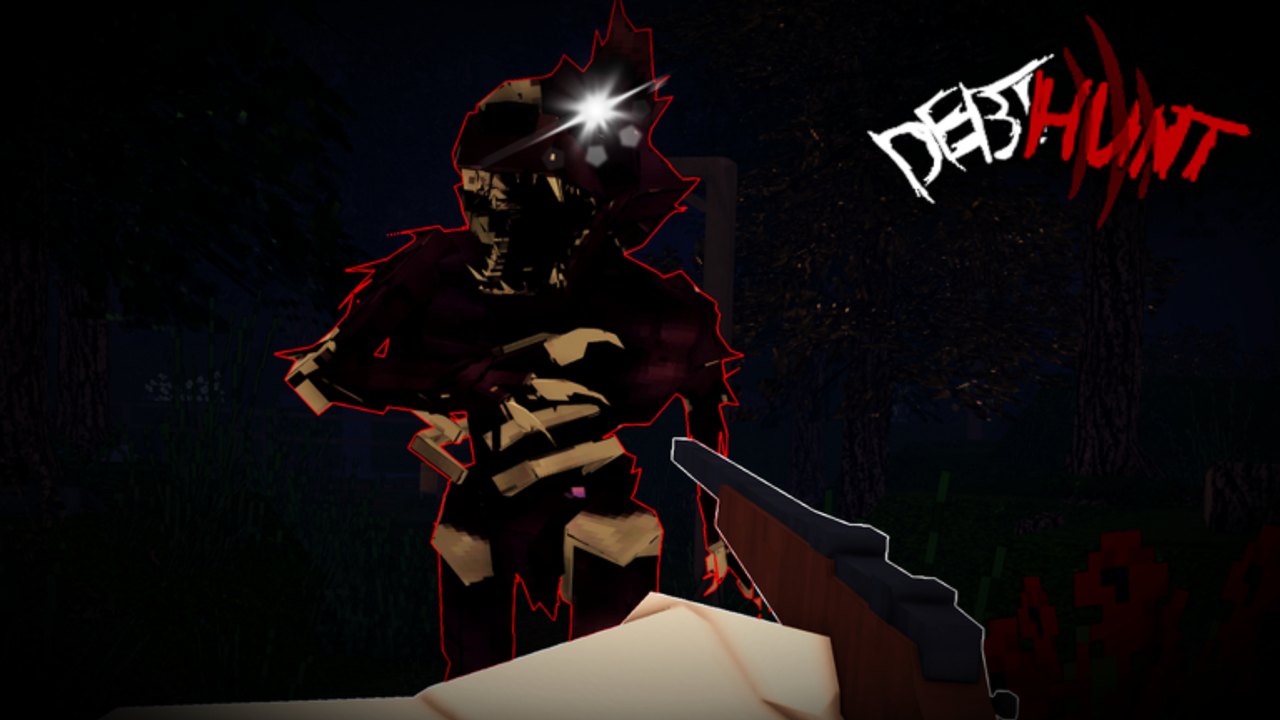
Debt Hunt has one economy and it runs on Cash. Every quota payment, every DarkMarket purchase, every Millionaire badge step, comes from items you pick up and bank toward the corporation. This page is the sellables catalog: what you can sell, what each one is worth per pickup, where to find it, and how it interacts with the day clock and the wolf.
The companion pages split the work differently: pay off the debt walks the daily quota math, the loot tier list ranks income sources by difficulty, the money guide shows cash routes per difficulty, and items describes how each tool is held. This page is the banker’s view of what you carry and what you drop off at extract.
What “sellable” means on this Roblox place
Debt Hunt is published on Roblox under universe 9063977758 (place 119116892854064) by T0pH4t_Studios. The official description is “earn as much money as possible to pay off a debt owed to the ruthless corporation and collection agency known as ‘Debt Hunt.’” The sellable list is whatever the live Alpha build lets you deposit at an extract zone or convert through the (optional) DarkMarket. NZTeam has not published a full drop table; the wiki reads the build through badges and reproducible behavior.
Sellables fall into five buckets:
- Mineral ores — mineable rocks sold by weight.
- Gems — rare high-value pickups. Their badge is literally called Gem Alarm.
- Treasures — buried loot dug up at marked mounds.
- Supply box contents — small Cash, ammo, bandages, photo subjects.
- Photo contracts — not a sellable in cash, but a steady income for camera builds.
Each bucket has its own grind target. Read the badge you are chasing, not a YouTuber’s spreadsheet.
Mineral ores
Mineral ores are the A-tier sellable of every Debt Hunt run. They are mineable rocks scattered across the procedural forest, inside ore caves, and on cliff walls near biome edges. The relevant badge:
- Master Miner — awarded at 500 ores mined.
That number tells you two things. First, ores are a real career path, not a side hustle. Second, the studio expects a long grind, so each pickup must be efficient.
How to mine:
- Equip a pickaxe-style tool from a supply box (most containers drop one). The default interaction is the same E / click you use for boxes.
- Each cluster takes five to ten seconds. Three to four hits.
- The cluster respawns per contract — yesterday’s ore line is gone.
How to sell:
- Deposit at the extract zone. Ores sell by weight; a full bag clears more than a half-empty one.
- Bank ores before sunset. The wolf aggros on Gem pickup faster than ores, but a heavy ore bag still slows you down when sprinting.
Income math:
- Ores are the only sellable that scales linearly with time-on-route. If the route is short, the ore cluster nearest the path is the only one worth mining.
- On Hard and Insane, ores stay A-tier. The wolf pressure is real but the value is real too.
Common mistake: detouring into a deep cave branch for “one more cluster.” The hour you lose is bigger than the value of the drops. The run checklist keeps you on the route.
Gems
Gems are the S-tier sellable of the live build. They are rare, they sell for a large Cash chunk, and they pull the wolf faster than any other item. The relevant badge:
- Gem Alarm — awarded for triggering the wolf alarm on Gem pickup.
The badge name is not flavor. Picking up a Gem makes the wolf track you faster than boxes or ores. Pocket the Gem and rotate to extract immediately. Do not detour.
How to find:
- Gems spawn in interior landmark types — cabins, ore caves, and the rare watchtower chest.
- Visual cue: a small glowing cluster, distinct from ore rock.
- On Insane difficulty, Gem spawns may be reduced; the studio has not published a rate.
How to sell:
- Same as ores — deposit at extract.
- If the wolf aggroes during pickup, sprint to the nearest fence line. Gem pickup does not pause the aggro.
Income math:
- A single Gem is worth more than a full run of supply box Cash. Treat it as the late-day pickup, not the first-day flex.
- A squad that reroutes the whole seed for every gleam ends up at Last Man Standing for the wrong reason.
Common mistake: camping a Gem pocket because the cluster is bright. The wolf will find you if you linger. Pick up, rotate, extract.
Treasures (buried loot)
Treasures are buried loot marked by small mounds in the forest. The relevant badge:
- Archaeologist — awarded at 100 digs.
Like ores, treasures are a real career path with a four-digit grind. They are the B-tier sellable: better than boxes, worse than Gems, often hidden under trees or behind fence corners.
How to dig:
- Equip a shovel from a supply box. Same interaction key as ores.
- Each dig takes a few seconds. The mound vanishes after a successful dig.
How to sell:
- Treasures are banked at extract like ores and Gems.
- Treasuries do not pull the wolf the same way Gems do, but a single mound can trigger a treasure alarm in the wolf’s tracking if you camp it.
Income math:
- Treasures are best as a route filler, not a primary target. If the route passes three mounds, dig all three. If the route passes one mound deep in a cave branch, leave it.
Common mistake: detouring for an isolated mound at sunset. The run checklist keeps you on the route. The night phase is not the time for an archaeology detour.
Supply box contents
Supply boxes are the C-tier sellable and the most common pickup. They spawn inside cabins, near fence corners, and at watchtower bases. The relevant badge:
- Provision Master — awarded at 150 supply boxes opened.
A supply box contains a rotating mix:
- Small Cash (the most common outcome — sells at extract).
- One ammo box (consumable, not sellable).
- One bandage (consumable, not sellable).
- Occasionally a photo subject (consumable for the camera; counts toward Master Photographer, not a Cash sale).
How to open:
- Interact with E or click. Boxes are single-use.
How to bank the Cash:
- The Cash from a box is auto-deposited when the box is opened — it does not require a trip to extract.
- Ammo and bandages are kept in your bag. Use them mid-run, do not bank them.
Income math:
- Boxes are the spine of day income. Every other sellable is a bonus on top of the Cash from the boxes you open.
- On Easy, you can finish the quota from boxes alone. On Hard, you need at least one Gem per contract.
- On Insane, you need ores, treasures, and at least one Gem, plus most of the boxes you see.
Common mistake: opening a box only for the Cash and skipping the box itself. If you already have full ammo and HP, the box itself is not valuable — open it for the Cash, then move on. Do not camp a box for a “better drop.”
Photo contracts
Photo contracts are not Cash sales. They are a separate income stream that pays in badge progress, not in deposit Cash. The relevant badge:
- Master Photographer — awarded at 1,000 photos.
The camera does not pay Cash directly. It pays by unlocking badges (which can give cosmetics, titles, or bragging rights in the live build; the studio has not published the full reward list) and by feeding into other roles’ economy.
Photo subjects that count:
- Wildlife — alive or dead deer, rabbits, and other confirmed fauna.
- Cabin interiors — documentation stills of loot states.
- Ore cave chambers — interior shots.
- Evidence / crime scenes — investigative stills placed by the studio.
- Creature traces — claw marks, tracks, bloodstains.
- Plank walls and broken interiors — documentation stills.
How to photograph:
- Aim the camera at the highlighted subject. The viewfinder reticle confirms the highlight.
- Press the shutter (default click). Each shutter click counts toward Master Photographer.
How to monetize:
- Photo contracts do not pay Cash. They unlock badges and may unlock DarkMarket vouchers tied to badge progress (the studio has not published this; treat as inferred).
- Treat photography as a role slot, not an inventory item. One contractor on the camera for the whole contract.
Common mistake: photographing only deer and skipping interior subjects. The 1,000-photo grind is long; the studio rewards variety. Fill your camera with whatever highlights, not just the wildlife that the badges mention by name.
Plank Wood (unconfirmed)
Plank Wood is the dropped material from breaking plank walls. It is a craft component in the live build. The relevant badge is Wrecking Crew (100 wooden planks broken), which is for the act of breaking, not for selling the drops.
Plank Wood is not a sell-everything resource. The studio has not published a recipe list. Treat it as a bag-slot filler:
- Pick up only if you have spare inventory.
- Do not mine decorative walls for Plank Wood. The hour you lose is bigger than the value of the drops.
- If a future patch ships a Plank Wood recipe, this page is the second place it lands, after updates.
What is not a sellable
The wiki will not invent:
- Named legendary weapons that can be sold.
- A stackable “rare gem” beyond the Gems that the Gem Alarm badge references.
- Cash drops from killing the wolf.
- Cash drops from killing deer (the deer 300 Cash penalty is a daytime penalty, not a kill reward — see wildlife).
- Drop tables for crates the studio has not patched in.
If Update 2 or a later patch ships a new sellable, this page is the second place it lands, after updates.
Income math per contract
The contract day runs on a quota. Here is the working budget for a typical mid-game run:
| Source | Per-pickup value | Time cost | Wolf risk | Tier |
|---|---|---|---|---|
| Supply box Cash | Low | 1–2 sec | Low | C |
| Mineral ore | Medium | 5–10 sec | Medium | A |
| Treasure | Medium-High | 5–10 sec | Low | B |
| Gem | Very High | 1–2 sec | High | S |
| Photo subject | Badge only | 1–2 sec | Low | B (badge economy) |
| Plank Wood | Unconfirmed | 5–10 sec | Low | unranked |
The exact dollar values per pickup rotate per contract. The studio has not published a formula. Read the relative value (S > A > B > C) and plan the route accordingly.
Sellables and solo vs squad runs
- Solo — bias toward boxes and ores. Skip Gem camping unless the route already passes it. Photography is a hotbar slot, not an inventory item.
- Squad — split tools. One carrier on boxes, one on ores, one on Gem rotation, one on the camera. Duplicate buys trade the same quota for half the value. Role calls: co-op and roles.
Related pages
- Pay off the Debt — daily quota math
- Money Guide — cash routes per difficulty
- Loot Tier List — income tiers by source
- Loadouts — DarkMarket slot picks
- Items — every confirmed item
- Locations — where to find each sellable
- Wildlife — photo subjects
- Debt Tracker — spreadsheet version of the route
- Run Checklist — keep the route on time
Frequently Asked Questions
Quick answers to the most common Debt Hunt questions.
What is the best sellable in Debt Hunt?
Gems. A single Gem sells for more Cash than a full run of supply boxes and counts toward the Gem Alarm badge. Treat Gems as the late-day pickup; the wolf aggros on Gem faster than other items.
Can you sell Plank Wood?
Plank Wood is a craft material drop from breaking planks. NZTeam has not published a recipe list. Treat it as a bag-slot filler, not a guaranteed sell-everything resource. Pick it up only if you have spare inventory.
Do I have to sell at extract?
Yes. Ores, Gems, and treasures deposit at the extract zone. The Cash from supply boxes is auto-deposited when you open the box. Photo subjects do not pay Cash; they unlock badge progress.
How many ores do I need for Master Miner?
500 ores. That is a long grind — treat ore clusters as a route target, not a detour. Pick the cluster nearest the path and rotate to the next landmark.
Do Gems attract the wolf?
Yes. Gem Alarm is the studio's badge name for that mechanic. Pick up Gems and rotate to extract rather than camping a Gem pocket near a known herd route.
What is the easiest income on Easy?
Supply boxes. On Easy, the sunset window is short enough that opening every box you pass can clear the daily quota. Add ores and treasures for Hard and Insane.
Are there legendary sellables?
Not in the live Alpha build. NZTeam has not published named or legendary sellables. The wiki treats ores, Gems, treasures, and supply box contents as the only confirmed sellable categories.